
Your logo is arguably one of the most important aspects of a company, it’s how your clients will recognize you. Asking a graphic designer to resize your logo will cost money, though many will supply multiple formats to be used on social media when you first get it designed. If they haven’t then continue reading to resize logo.
Each website you have an online presence on requires your logo, each of these sites requires your logo in slightly different sizes. Though most platforms will readjust your logo when you upload, cropped, distorted or stretched. To avoid this, resize your logo to accommodate the platform’s preferences.
Many people will view these pages on a mobile. Make sure you check on mobile and desktop devices after changing your images.
It is also best to make the focus of the image in the centre. This will mean when your photo is cropped or shrunk to fit mobile, the content you want displayed is viewable.
Best Social Media Image Size’s (Width x Height)
- Facebook Profile Picture: 180 x 180 (Ratio: 1:1)
- Facebook Cover Photo: 820 x 312 (Ratio 1.91:1)
- Twitter Profile Image: 400 x 400 (Ratio: 1:1)
- Twitter Header Image: 1500 x 500 (Ratio: 3:1)
- LinkedIn Logo Image: 300 x 300 (Ratio: 1:1)
- LinkedIn Cover Image: 1584 x 396 (Ratio: 4:1)
- Pinterest Profile Cover: 800 X 400 (Ratio: 2:1)
- Pinterest Profile Picture: 165 X 165 (Ratio: 1:1)
- Instagram Profile Picture: 110 X 110 (Ratio: 1:1)
- YouTube Channel Icon: 800 X 800 (Ratio: 1:1)
- YouTube Cover Photo: 2560 X 1440 (Ratio: 16:9)
- Google Profile Picture: 250 X 250 (Ratio: 1:1)
- Medium Photo: 1000 X 1000 (Ratio: 1:1)
- WhatsApp Profile Picture: 500 X 500 (Ratio: 1:1)
- TikTok Profile Photo: 200 X 200 (Ratio: 1:1)
- Reddit Banner: 1920 X 384 (Ratio: 5:1)
- Snapchat: 1080 X 1920 (Ratio: 9:16)
- Telegram Profile Picture: 512 X 512 (Ratio: 1:1)
- WordPress Thumbnails: 150 X 150 (Ratio: 1:1)
Resizing Your Logo For Social Media +
Equipment
- GIMP (GNU Image Manipulation Program)
Ingredients
- Your Company Logo
- Your Company Logo
Instructions
Making A Square (1:1)
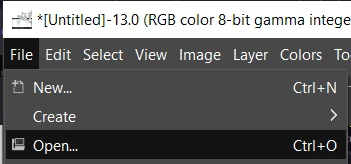
- Open your logo
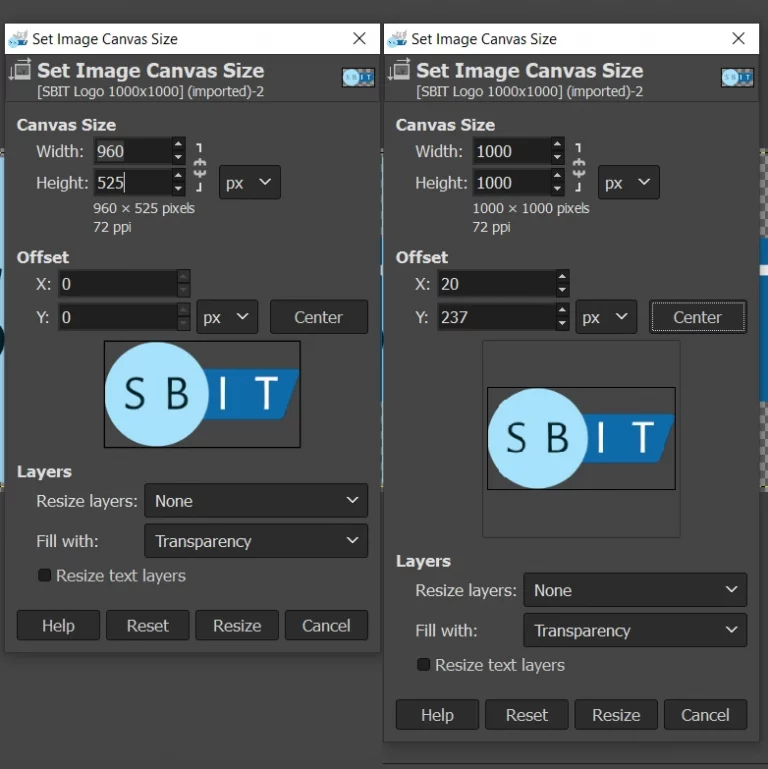
- Open the menu Image > Canvas Size
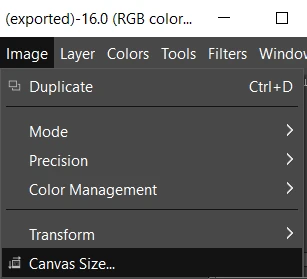
- The SBIT logo is 960×525 px, To square we will change the height and width to 1000 px then press the Center button and Resize. Choose a height and width larger than your current image size and round up

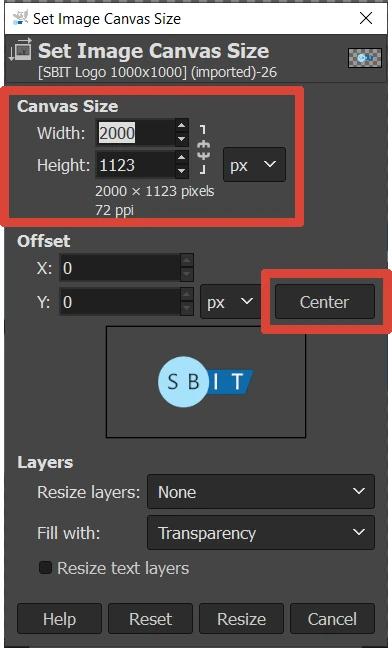
Making A Rectangle (16:9, 4:3)
- To correctly select the correct ratio for soical media we will need to follow the above steps to increase the canvas size. Assuming your logo is smaller, increase the canvas size to 2000 x 1123,
- Choose the Rectangle Select Tool – Tools > Selection Tools > Rectangle Select

- In the ToolBox, click the check box next to Fixed, from the fixed menu select Aspect Ratio
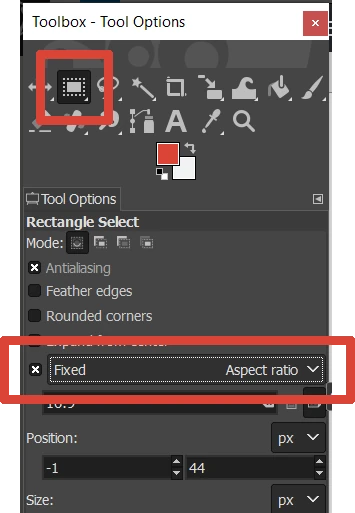
- Enter your desired Aspect Ratio
- Now drag a selection across your logo, remembering

Background Colour For Square (1:1) & Rectangle (16:9, 4:3)
- We now have a square logo, but our background is part white and part transparent. If you have a square logo with a transparent background, you can skip this step.
- Let's select the correct colour, open the colour picker tool in the Tools Menu—Tools > Color Picker
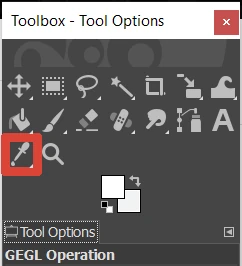
- Click on the logo's background. In our case, this is the White section. You will see that our background colour is now selected
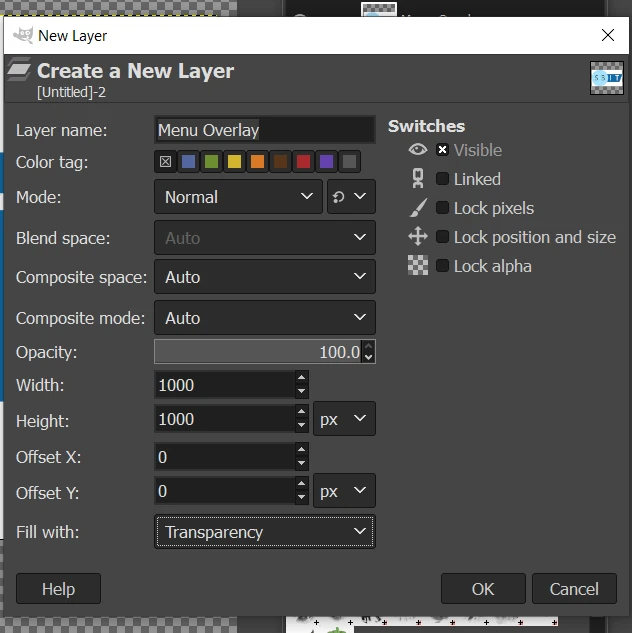
- Add a layer using the Layer menu—Layer > New Layer
- Make sure Fill With is set to Transparent, press OK
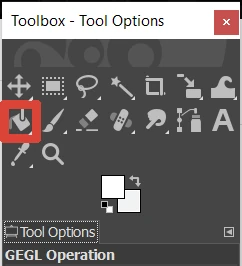
- Select the Bucket Fill Tool—Tools > Paint Tools > Bucket Fill
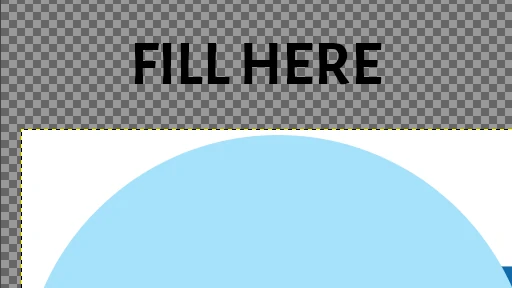
- Click on the additional layer (the transparent section is the Grey Grid). Our additional layer is now filled with our logo background colour, but our logo has disappeared.
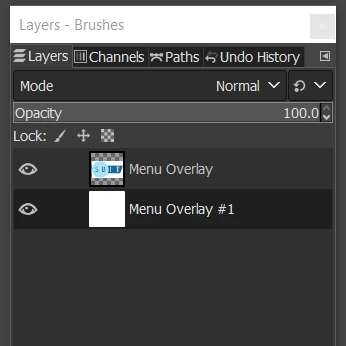
- In the Layer Dialog (normally on the right). Drag our new colour layer underneath your logo layer. You will now see your logo.
- This is a great stage to save your file, you never know when you're next going to need a square version of your logo.
Resizing A Square (1:1)
- The last step is to resize for social media.
- Select Scale Image—Image > Scale Image
- Input the Height and Width for your required social media platform (Check our list above) make sure the link chain next to Height and Width is closed.
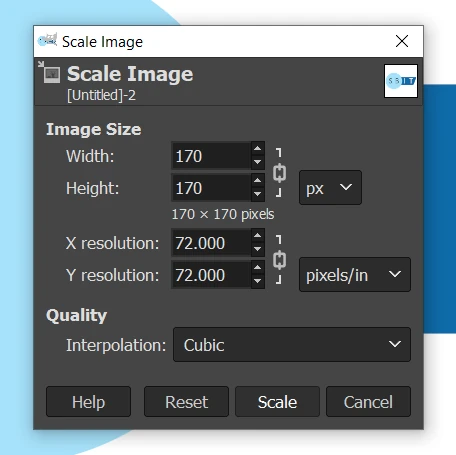
- Press Scale
Resizing A Rectangle (16:9, 4:3)
- Select Scale Image—Image > Scale Image
- You need to resize the image's height to your required size, to adjust the width we will change the canvas size and run through the background colour section again.
Struggling with the above recipe? Hire a chef to do it for you