
Email templates provide an easy way to send the same or similar emails regularly. I send out booking confirmations, booking amendments, requests for information daily. Having to follow Microsoft’s process to access email templates wastes time we could save, working smarter, not harder.
Need help creating an email template in Outlook? We have a recipe to help.
Microsoft’s method to access an email template
Microsoft currently states that use a template in Outlook, you must
- Select New Items > More Items > Choose Form.
- In the Choose Form dialogue box, in Look In, click User Templates in File System.
- The default templates folder is opened. The folder location (in Windows 7 and later operating systems) is c:\users\username\appdata\roaming\Microsoft\templates. If we saved your template in a different folder, click Browse, and then select the template.
- Select the email template and then click.
- Make any additions or revisions to the recipients in the To, Cc, or Bcc boxes and any changes to the subject and message body.
In this article, we are going to reduce this process to 2 easy steps to access email templates
- Press button on toolbar
- Make any additions or revisions to the recipients in the To, Cc, or Bcc boxes and any changes to the subject and message body.
Multi user tip
If you have several users who use the same template, create a central repository in a shared folder. Change the file locations in the below Visual Basic Macro to this shared folder, and follow the toolbar steps on each machine. Now, when you change the template, all users will have the new version.
Outlook 2010 Template Toolbar Ribbon
Equipment
- Outlook Desktop Only
Ingredients
- Email Template
- Email Template
Instructions
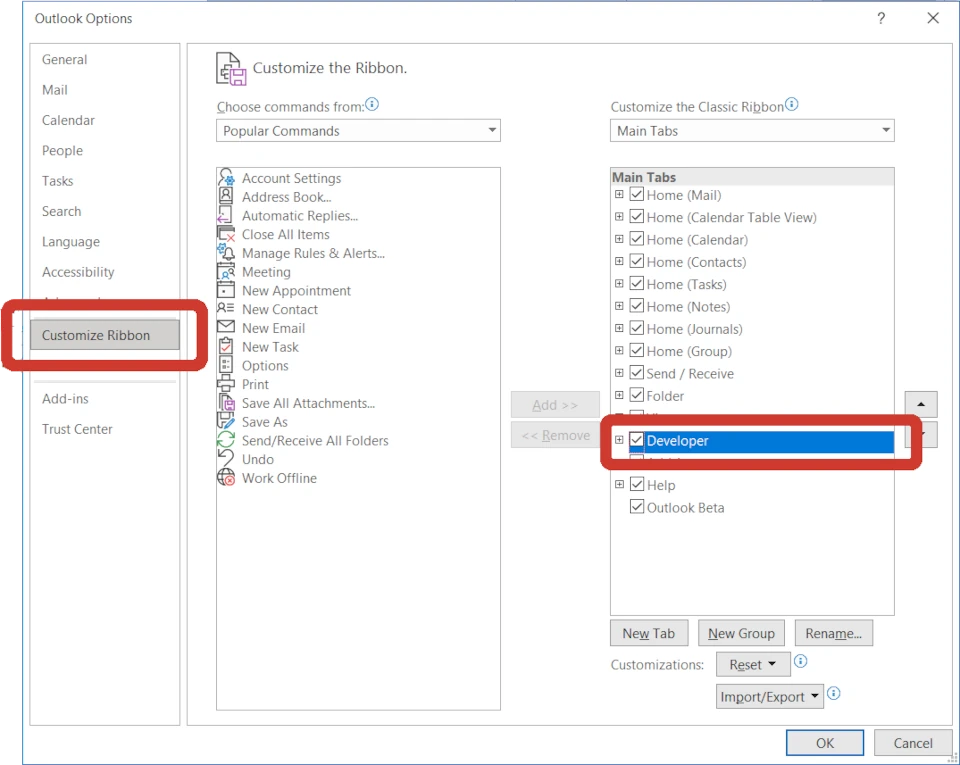
Enable Developer Menu
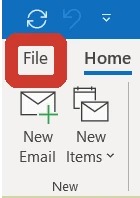
- Open the File tab,
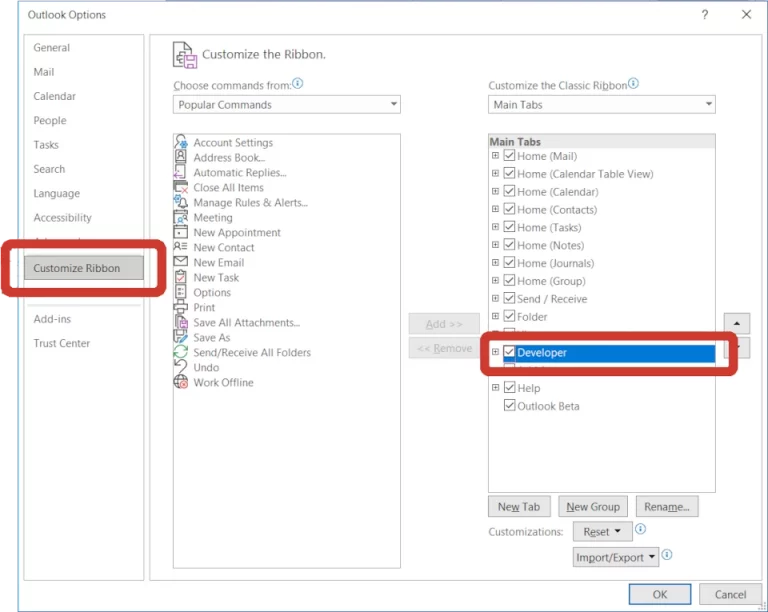
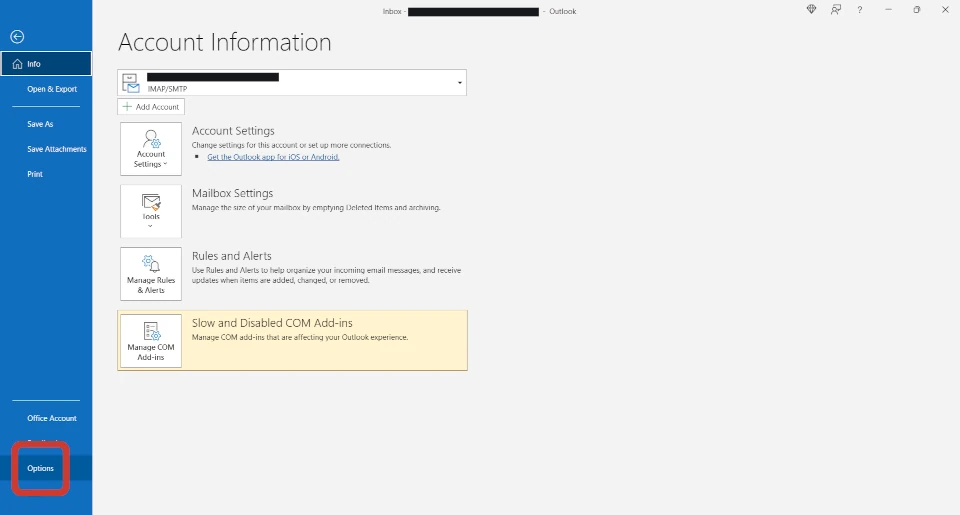
- Go to Options > Customise Ribbon.(Options can be found in the bottom left of the File screen)

- Under Main Tabs on the right hand side, select the Developer check box.
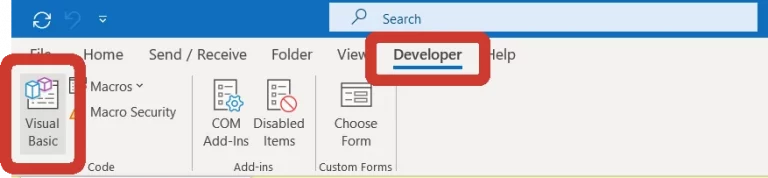
Visual Basic Macro
- Open your new Developer menu and select Visual Basic
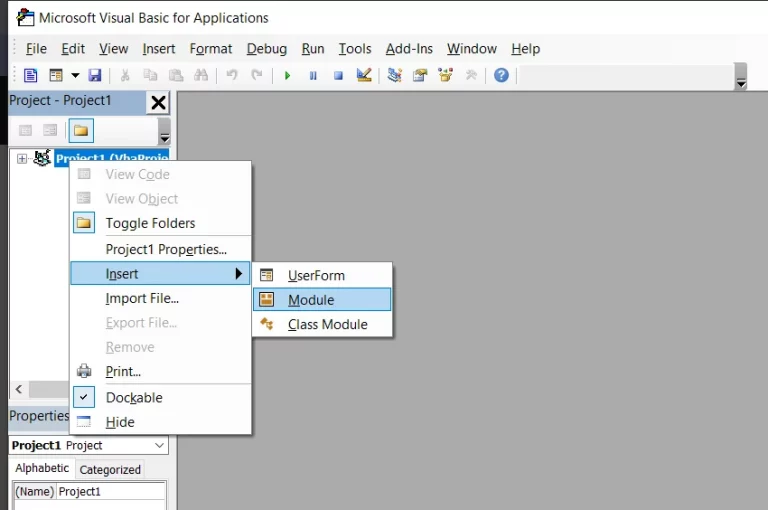
- A new screen will pop up. On the left select Project 1, left click and press Insert > Module.
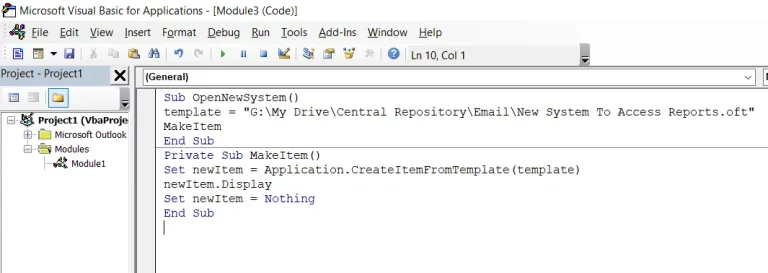
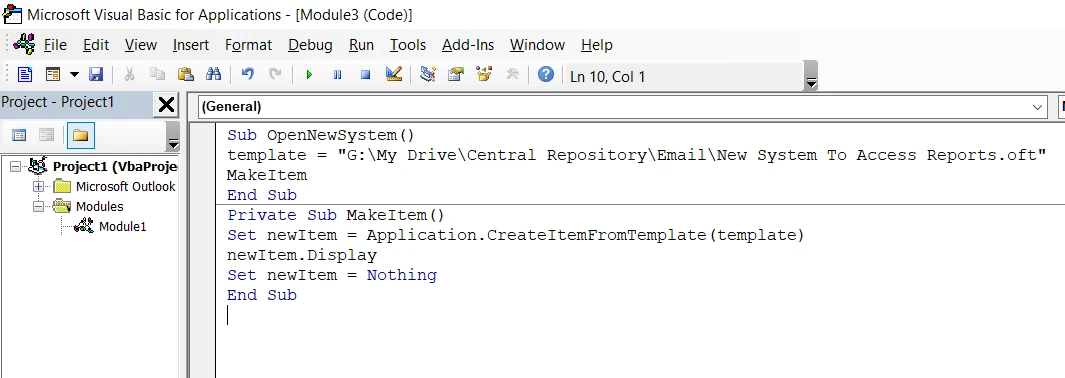
- Paste the below VBA code in the new screenThis is the foundations of our Toolbar
- Private Sub MakeItem()Set newItem = Application.CreateItemFromTemplate(template)newItem.DisplaySet newItem = NothingEnd Sub
- For each toolbar button you require paste the below VBA code renaming the macro and file location of the Outlook Template
- Sub MacroName()'Rename each Macro to anything as long as they are not the sametemplate = "C: File Location Of Your Outlook Template.oft"'By default templates are stored in C: Users UserName AppData Roaming Microsoft TemplatesMakeItemEnd Sub
- Press save and close


Add Toolbar
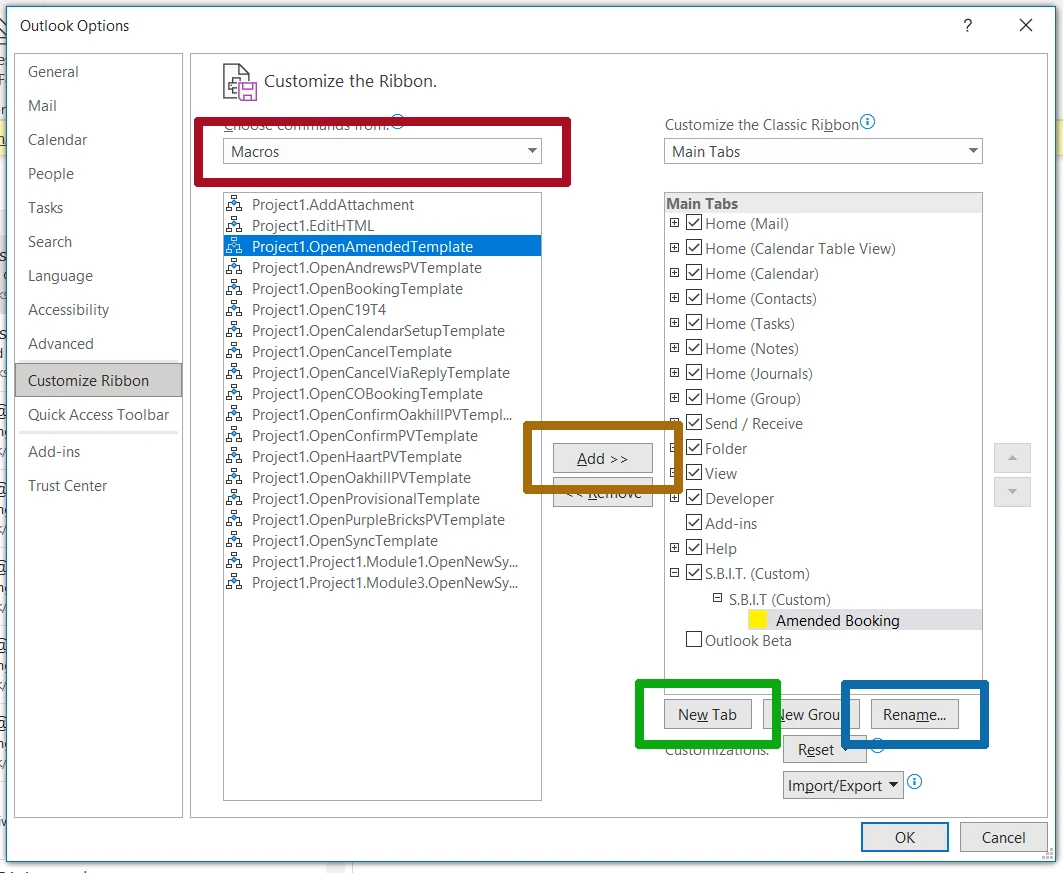
- Now we have a few macros. Let's add them to a toolbar. Open the customise ribbon menu (File > Options > Customise Ribbon), on the lower right press New Tab and then Rename the newly created Tab & Group
- Select your new Group then towards the top left use the drop down menu to select Macros. Select each macro then press Add found in the centre of the 2 columns. Do this for each macro you will add.
- To make the toolbar a little nicer, we can rename each macro to a more logical name like Amended Confirmation and also select an icon that would best suit its usage.

- Once finished, press OK. Your Outlook toolbar is now ready to go. You may get a warning about Macro security when you press the toolbar for the first time. We can change this
Enable Macros
- Click File > Options > Trust Center
- Press Trust Center Settings
- Select Macro Options
- Select the security level you require, I have set this to Notification for all macros. this provides some form of security and will only warn the user the first time they attempt to use the toolbar in each session
- Click OK.
Struggling with the above recipe? Hire a chef to do it for you