

It would be completely amiss for us not to include a How To Make A Recipe Video tutorial. We are after all I.T. Recipes; it makes sense. If you’re reading this article, you are someone who is looking to become the Gordon Ramsey of Instagram or a restaurant, coffee shop, bakery looking to diversify your social media videos by providing educational videos.
How To Make A Recipe Video
A quick note, if you are in the food industry, creating recipe videos is a great way to advertise
Controversially we are going to teach you how to make Honey & Marmite Toast, I agree it’s not for everyone (You Either Love It Or Hate It) and it’s a super simple recipe, arguably in the realm of not really being a recipe at all. But we are not chefs, we just like eating so lets get into how to make recipe videos for free.
How To Use AI For Video Marketing (For Free)
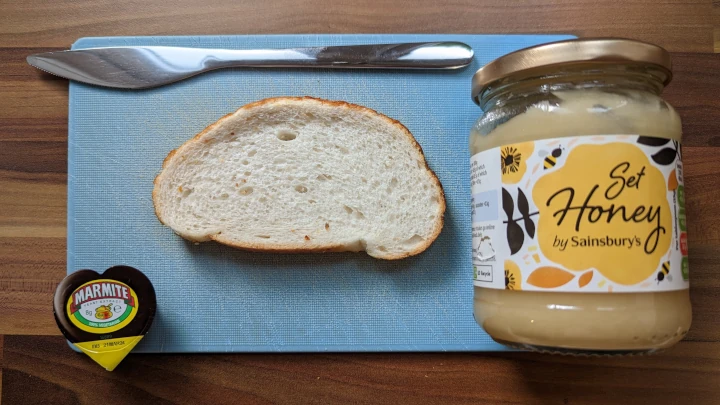
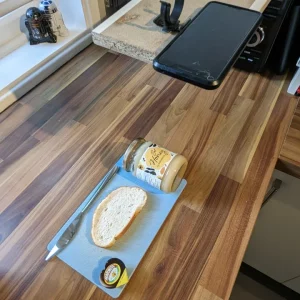
We will film an overhead / bird’s-eye view recipe video and only use household materials and phones to create it.
Recipe Video Steps Outlined
There are quite a few essential components to making a recipe video. To get you started, consider some of the following general advice:
- Plan your recipe: Decide on the recipe you want to showcase. Choose a dish that is visually appealing and has clear, step-by-step instructions.
- Write a script or outline: Plan out the sequence of steps you will follow in your video. Create a script or an outline to guide you through the process. This will help you stay organised and avoid missing any important details.
- Gather ingredients and equipment: Make sure you have all the ingredients and equipment ready before you film. Organise them in a neat and easily accessible manner. Prepare your ingredients and arrange them in small bowls or containers. This will make it easier to show each ingredient as you add it to the recipe.
- Set up your filming area: Choose a well-lit and clean area for filming. We will build a platform to stabilise your shots if you don’t have a tripod.
- Start filming: Begin recording your video, following your script or outline. Capture close-up shots of each step and ingredient. Use multiple angles to add variety and visual interest.
- Demonstrate each step: Clearly show each step of the recipe as you film. Speak clearly and provide clear instructions along the way. Show any techniques or tips that might be helpful for viewers.
- Pay attention to presentation: Highlight the visual appeal of the dish by presenting it well. Use garnishes, colourful ingredients, and attractive plating to make the dish look appetising.
- Edit your video: Once you have finished filming, import it into video editing software. Trim any unnecessary parts, adjust the lighting if needed, and add text overlays or graphics if desired. We used CapCut on our mobile phone.
- Add background music and voiceover: Consider adding background music to enhance the mood of your video. You can also record a voiceover explaining the steps and ingredients as the video plays.
- Finalise and export: Review your edited video and make any necessary adjustments. Once you’re satisfied, export the video in a suitable format for sharing on your chosen platform (e.g., YouTube, Instagram, etc.).
Remember, practice makes perfect! As you create more recipe videos, you’ll gain experience and develop your own unique style. Good luck with your recipe video-making endeavours!
Build Your Own Overhead ‘Tripod’ For A Recipe Video
Because we don’t have a good tripod, we will build a platform to rest our phone on. We would suggest you consider purchasing a tripod if you intend to do this regularly. What we will build is great for a test shoot to get feedback via friends and social media or if you are a little strapped for cash.
We are actually going to use a part of our kitchen plinth, you could use any plank of wood. We then wedged it above our microwave. You could tape your plank onto anything that gives you the height you require.
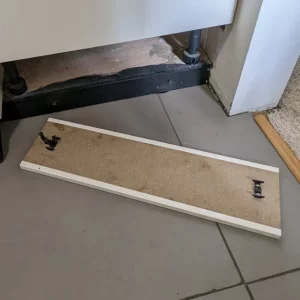
For those who may have noticed, yes my kitchen is mounted on a 200 mm base, as I am 6 ‘2 feet tall this avoids me having to bend down all of the time.
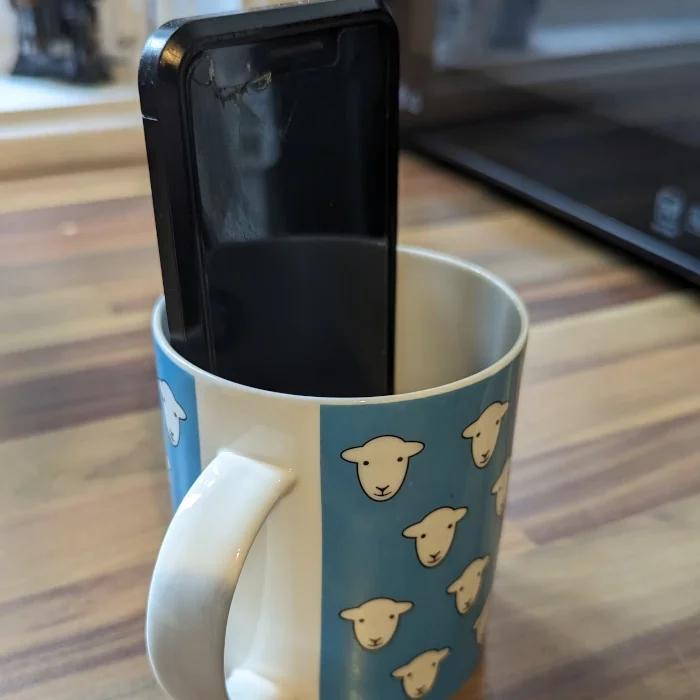
Build Your Own ‘Tripod’ For A Recipe Video
Use a mug, yep it’s that simple, find a mug that your phone sits into and place where you need to shoot.
Sadly a mug doesn’t give you the height you need, just place a box, book, anything underneath the mug to give the height you require.
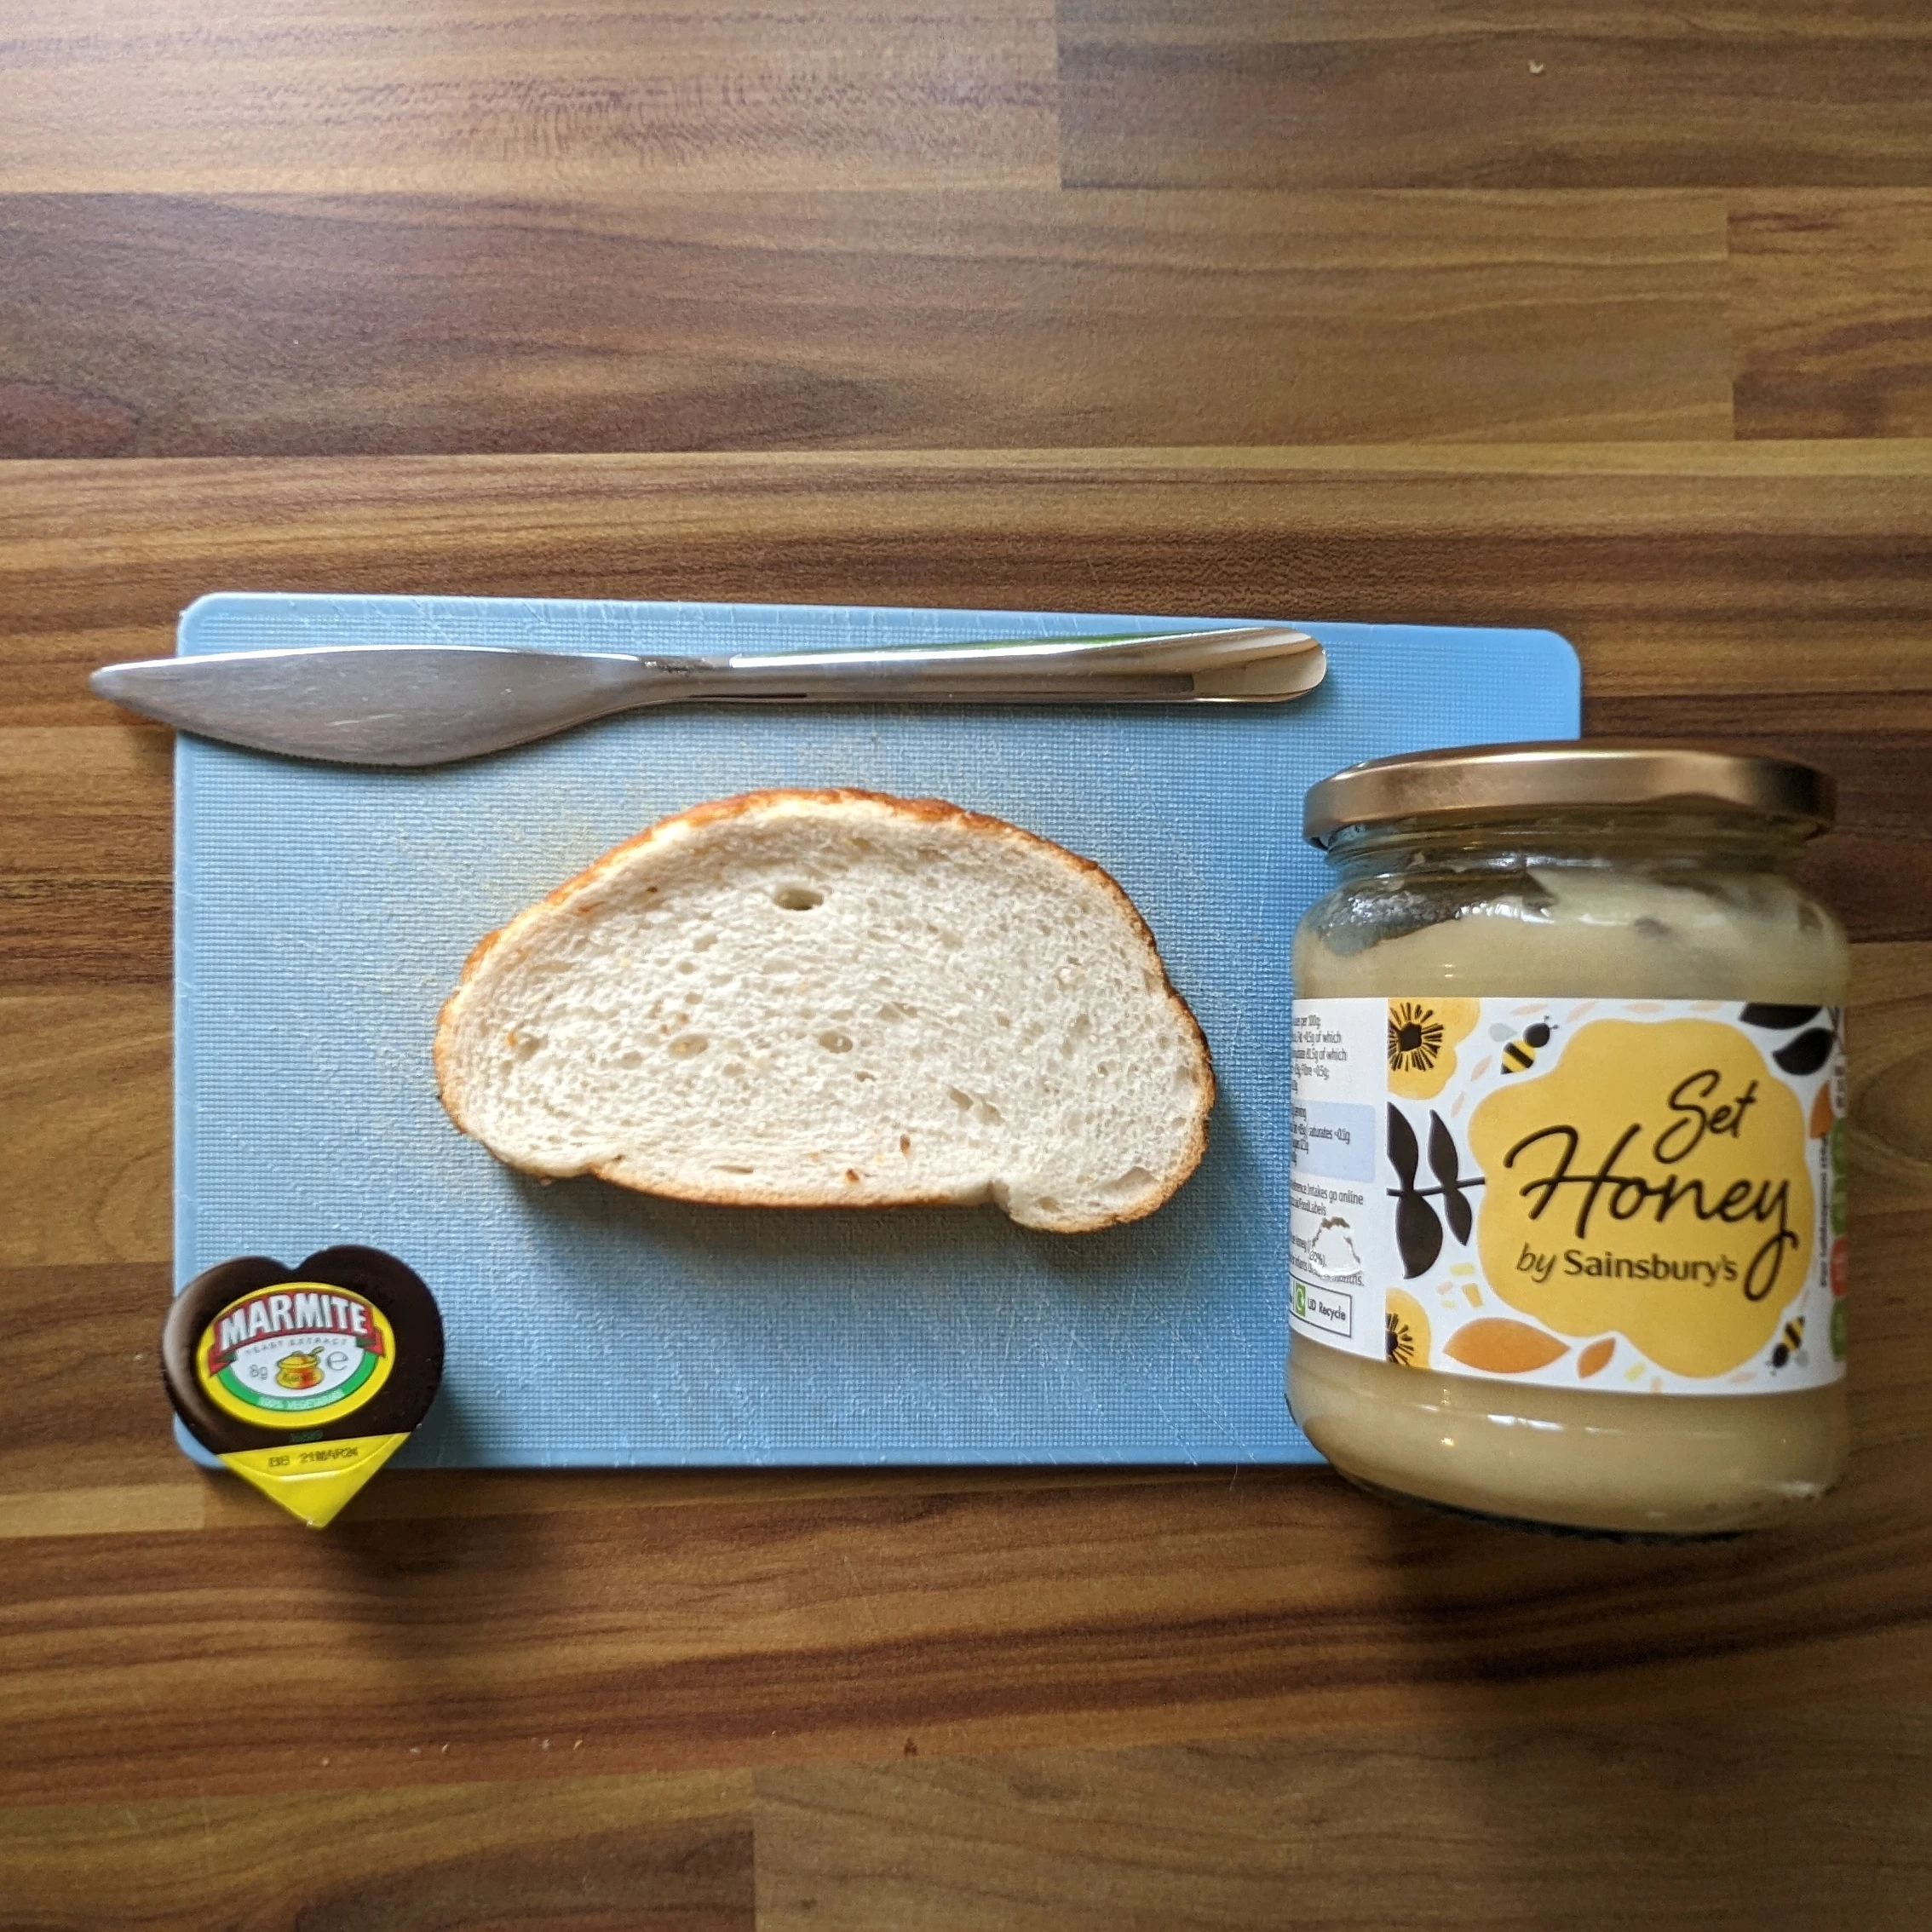
Honey & Marmite Toast
Equipment
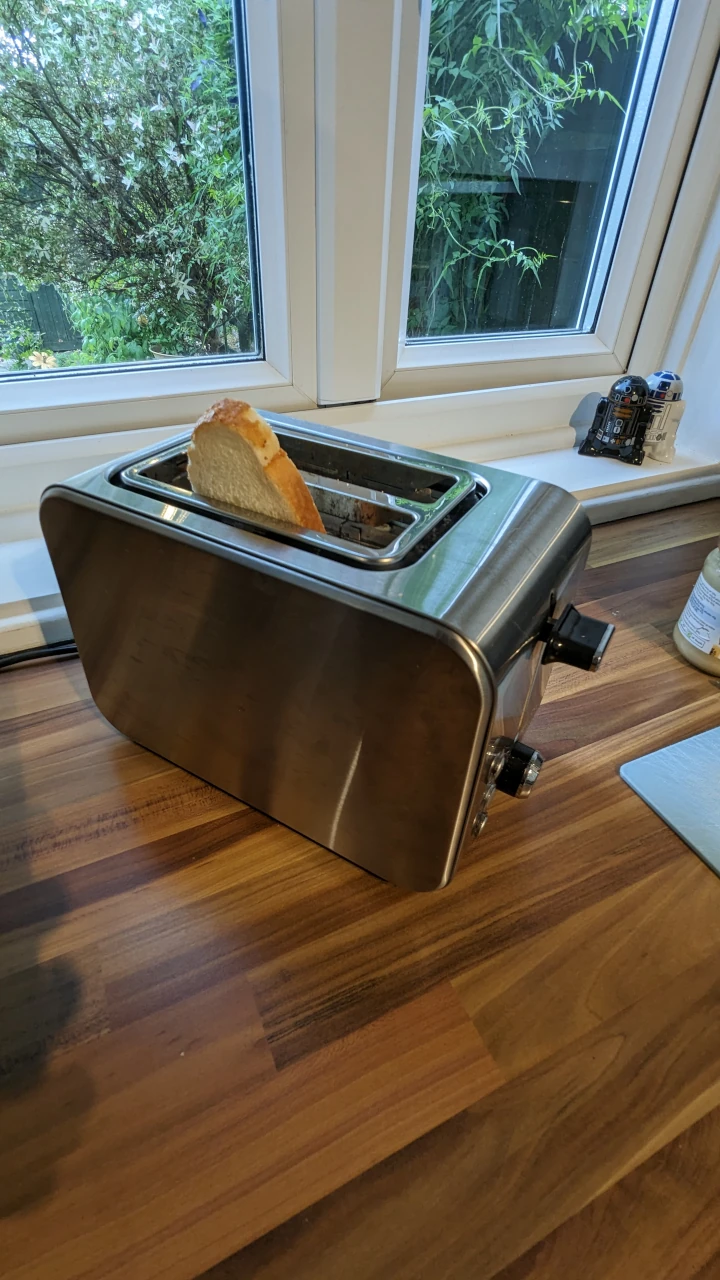
- 1 Toaster
- 1 Chopping Board
- 1 Knife
Ingredients
- 1 Slice Bread
- Butter or Margarine
- Honey We used Pure Set Honey, but runny honey works too
- Marmite Yeast Extract
- 1 Slice Bread
- Butter or Margarine
- Honey We used Pure Set Honey, but runny honey works too
- Marmite Yeast Extract
Instructions
- Using a toaster, toast the bread on a low setting1 Slice Bread
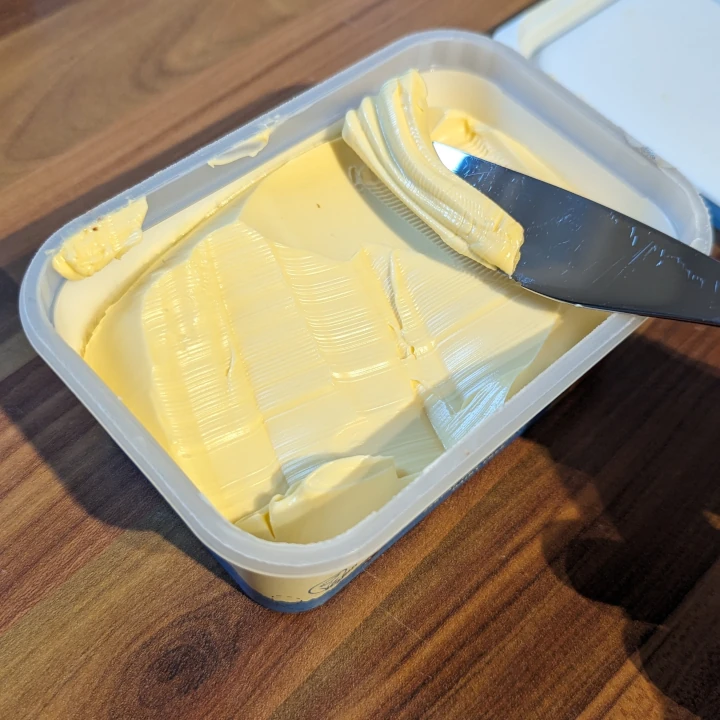
- Spread a thin layer of butter onto the toastButter or Margarine
- Spread a thin layer of honey onto the toastHoney
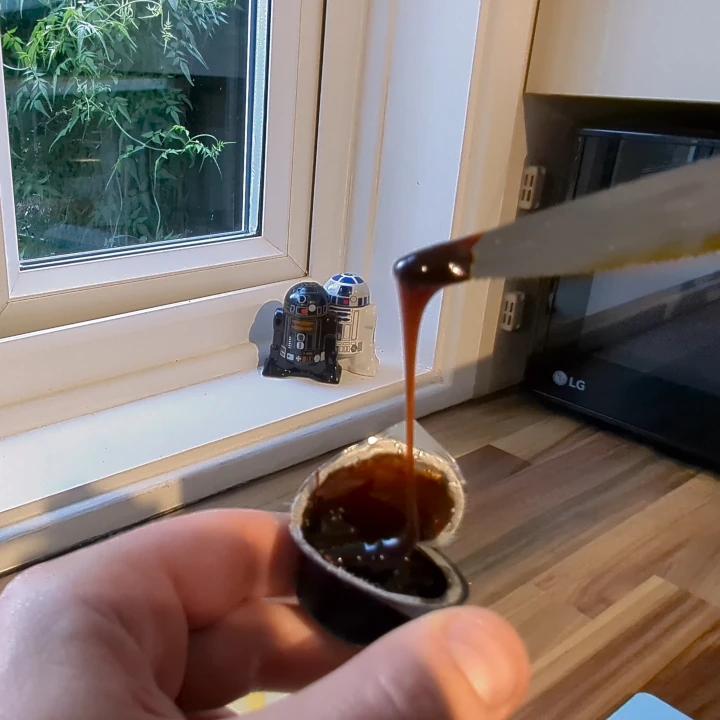
- Spread a thin layer of marmite onto the toastMarmite

Video
Struggling with the above recipe? Hire a chef to do it for you