
There are so many choices for WordPress themes. I.T. Recipes tested Astra, Hestia, ColorMag and many more. We installed around 5 or 6 before settling on TwentyTwenty. While we had settled on a theme, it wasn’t quite what we wanted. The header was too big; the fonts were all wrong, etc. We would eventually need know how to create a child theme for WordPress. Before we did, we needed to learn a hard lesson.
What is a Child Theme?
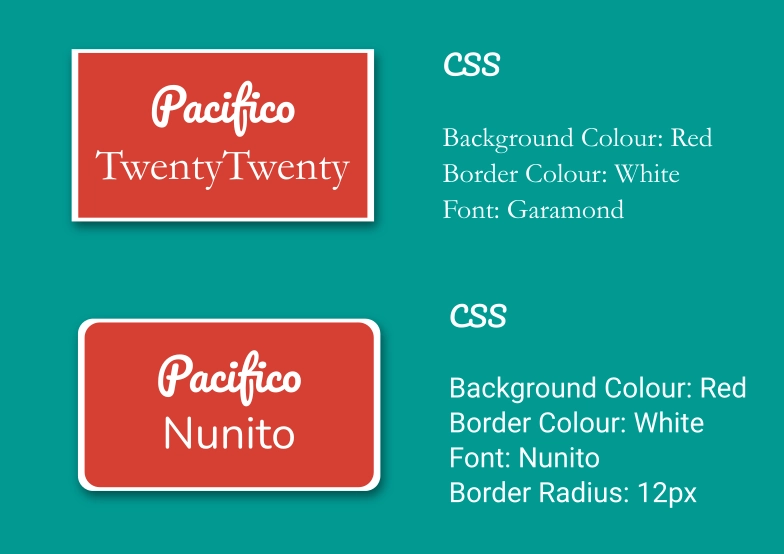
Child themes allow us to edit a theme without directly changing the original themes’ files. Every theme has its own custom options. TwentyTwenty allows us to change background colour, header colour, background image, menus and add our own CSS.
We can also change header size, font size, and anything that relates to the looks of the theme with CSS. But the Additional CSS area gets difficult to read and does not allow us to change any of the themes functions with PHP. Like adding custom 404 pages or changing search.
By creating a Child Theme, we can change CSS and add custom 404 pages without creating a brand-new theme from scratch. Our child theme will inherit its parent’s look and feel while applying its own style, allowing us to keep the parent theme updated and secure without overwriting our changes.
What’s the difference between a child and parent theme?
When purchasing a car, you can choose various added extras. Our parent theme is similar. Each theme allows custom colours, fonts, and a home page. These can be changed from Appearance > Customise. But you only have a list of manufacturer custom options.
We can buy off-the-shelf parts (add CSS & PHP). These parts don’t change the whole car, but make some improvements. Our improved Ford Focus doesn’t become a Porsche, it’s now a Ford Focus RS.
When we create a child theme it is the same. With some custom improvements, we can still keep parts of the parent theme we like while adding a new bumper to make it look different.
Why create a child theme and a hard lesson?
During the development of I.T. Recipes, we decided there were a few functions we wanted to change.
We started by changing the themes files directly, to find all of our changes were gone when we applied the latest TwentyTwenty theme update, we had to start again. Therefore, a child theme is so important. Don’t be like I.T. Recipes, learn from our mistakes continue reading to learn ow to create a child theme.
Our new child theme allows us to apply any updates to our parent theme and not lose any changes we have made. It also looks quite good if anyone uses a WordPress scanner to see we have our own theme.
Alternatives to creating a child theme
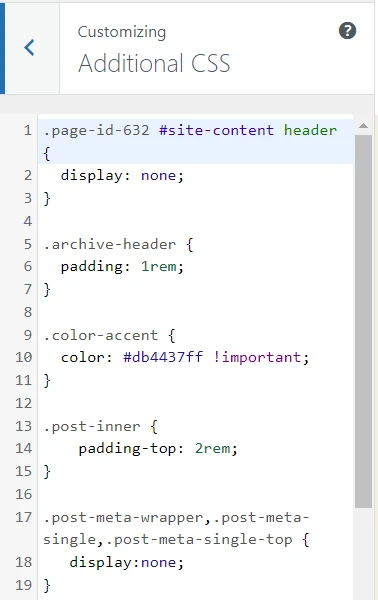
Most themes allow us to add custom CSS. This can be done via WordPress Dashboard > Appearance > Customise > Additional CSS
The issue with this is it gets crowded, we found we were struggling to read and keep take of what we were doing.
Please follow our WordPress Backup recipe before cooking

How to create a child theme
Equipment
- WordPress
Ingredients
- Design Idea
- Design Idea
Instructions
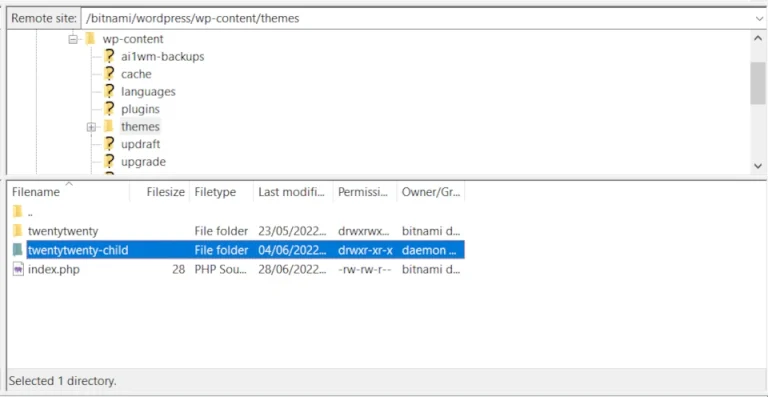
- On your server, navigate to your WordPress site via FTP and find wp-content > themes. Create a new folder and name the same as your parent theme, then add -child to the end.Ours was TwentyTwenty-child
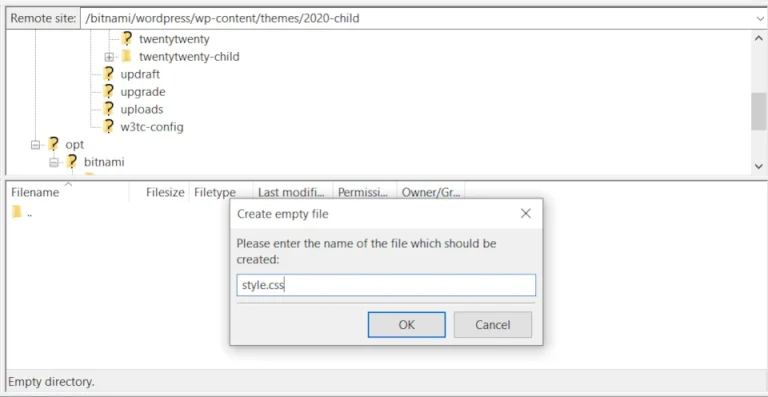
- Create a file called style.css inside your -child folder
- Edit style.css and add the style.css code below this recipe, change any mention of I.T. Recipes for your own details
- Next, create a file called functions.php inside your -child folder and add the code below this recipe
- Restart WordPress

- Login to your dashboard after you restart, navigate to Appearance > Themes and activate your child theme.

- Now we have activated our new theme we can edit style.css. Adding our own CSS code we can make custom edits. Try adding the below to change all header text.H1 { font-size: 4rem !important; color: #0e1523 !important;}


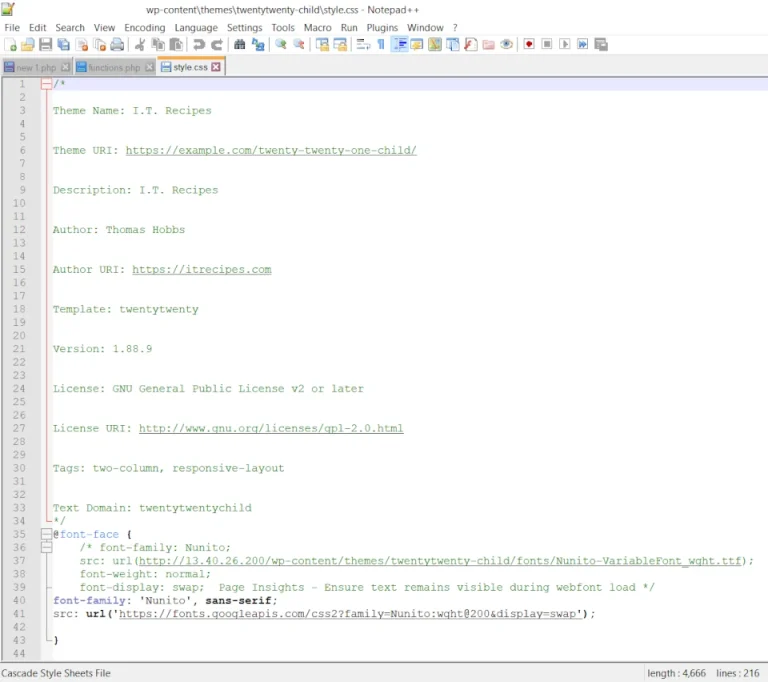
Code for style.css
/*

Theme Name: I.T. Recipes

Theme URI: https://yourdomain.com/twenty-twenty-one-child/

Description: TwentyTwenty Child Theme for I.T. Recipes

Author: I.T. Recipes

Author URI: https://itrecipes.co.uk

Template: twentytwenty

Version: 1.0.0

License: GNU General Public License v2 or later

License URI: http://www.gnu.org/licenses/gpl-2.0.html

Tags: two-column, responsive-layout

Text Domain: itrecipes

*/

/*Add your own custom CSS below, the below h1 tag is an example*/

h1 {
	font-size: 4rem !important;
	color: #d14437 !important;
}
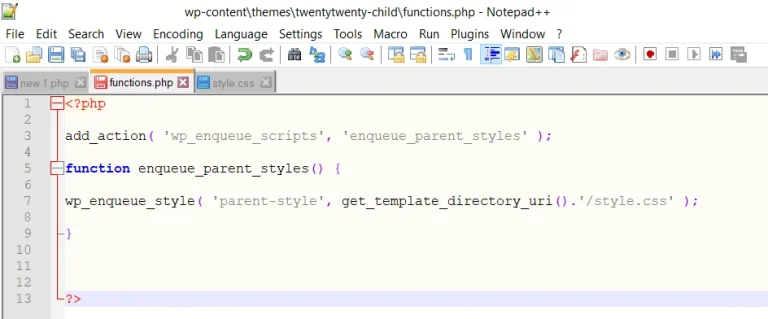
Code for functions.php
<?php

 add_action( 'wp_enqueue_scripts', 'enqueue_parent_styles' );

 function enqueue_parent_styles() {

  wp_enqueue_style( 'parent-style',     get_template_directory_uri().'/style.css' );

}

?>
Adding a screenshot to our child theme
Now we have a child theme, it will appear on our WordPress Theme screen. As you can see, it is a grey screen while every other theme has a screenshot. By adding screenshot.png to our child theme folder, WordPress will auto detect this and display. So that’s what we did. This doesn’t have to be a screenshot, of course.

Struggling with the above recipe? Hire a chef to do it for you