
All the photos in the world can’t show off our product in its full glory. Create a 3D model to help to show off our product from every angle for use on Shopify, WooCommerce and BigCommerce.
Can you please explain how to create a 3D scan of my product for my WordPress Shopify eCommerce store?
Recipe Request by Anonymous
Table of Contents
Why Create A 3D Model
We can provide photos, measurements, and weights. But these are a forced perception. We decide what angle looks best and display that photo. By giving a customer the ability to view a product from any angle they want, we can provide them with a more personal experience.
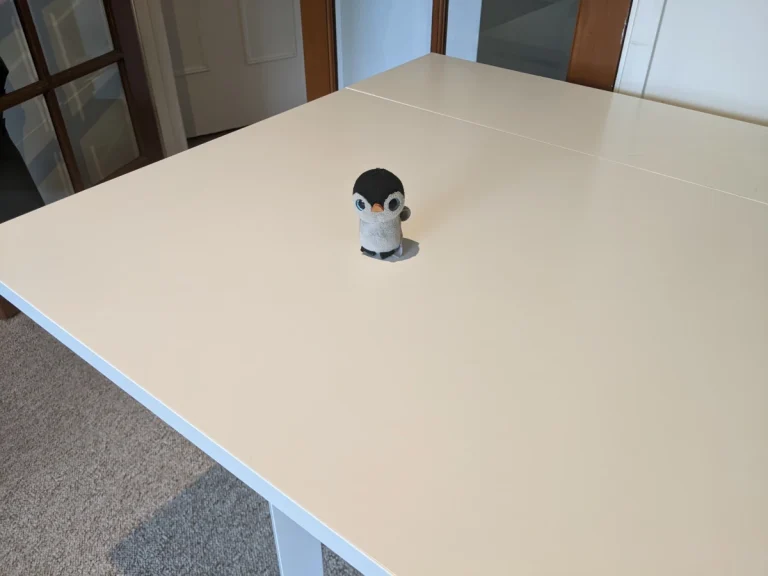
Research by Shopify suggested products with 3D models have had a 250% conversation increase. This is something we definitely want to see on our website. Though we don’t actually have any products at the moment, so we will use Penny the Penguin.
What Is A 3D Model
A 3D model is a computer generated representation of a person, building, animal or object using a collection of points in 3D space, connected by various geometric entities. We use them in games, films and now in our shop. They allow a potential client to view your product from every direction. A full 360-degree photo.
If you wish to read a full technical breakdown of what a 3D model is, click here. We wanted to keep it simple.
Extra Income and Advertising
If your product looks perfect, then why not submit it to a 3D Model asset site for people to use? We might earn extra revenue or be great advertising, depending on how good your final product is. Try https://www.turbosquid.com as a starting point.
What WordPress eCommerce Stores Support 3D Models?
As of May 2022, the below is correct.
- WooCommerce – Yes via 3rd party plugin
- BigCommerce – Yes via paid 3rd party plugin
- Shopify – Yes, built in
- MemberPress – No
- WP Simple Pay – No
- WP eCommerce – No
- Ecwid – No
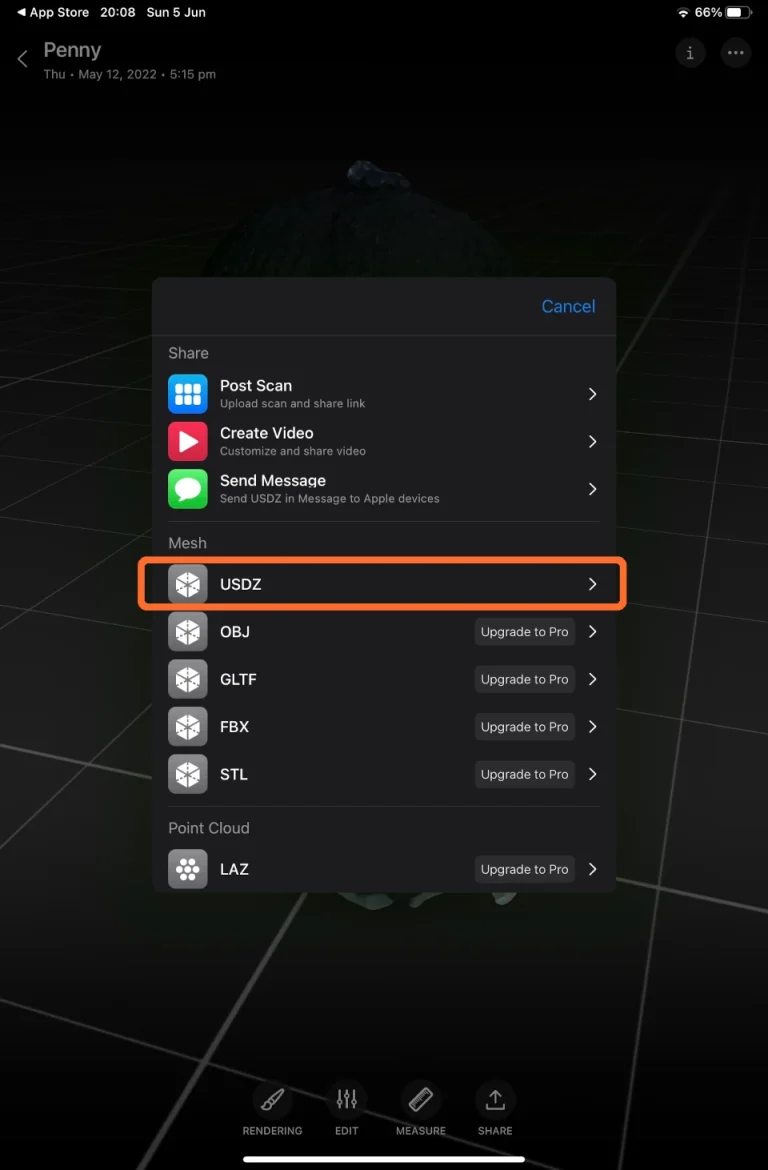
Shopify is currently the only store that supports USDZ 3D models. USDZ Developed by Pixar and Apple, we can use USDZ on iOS 12 devices to create good quality 3D models. We can save our 3D model into other formats if we pay.
Tips Before You Start
- Use a surface that provides good contrast between itself and the product (A black mug on a black table won’t work)
- Though the floor may sound like a good idea, we will hunch over for a while taking photos. A surface at waist height saves the backache.
- Don’t create shadows over your product. If that means you have to walk a little further round and stretch, do so. All 3D software will struggle if there is a shadow of our head in a photo.
- There is no way of knowing how many photos will be enough. On our first attempt, we took 39 photos and the 3D image was useless. The more, the better.

Create a 3D model
Equipment
- iPad
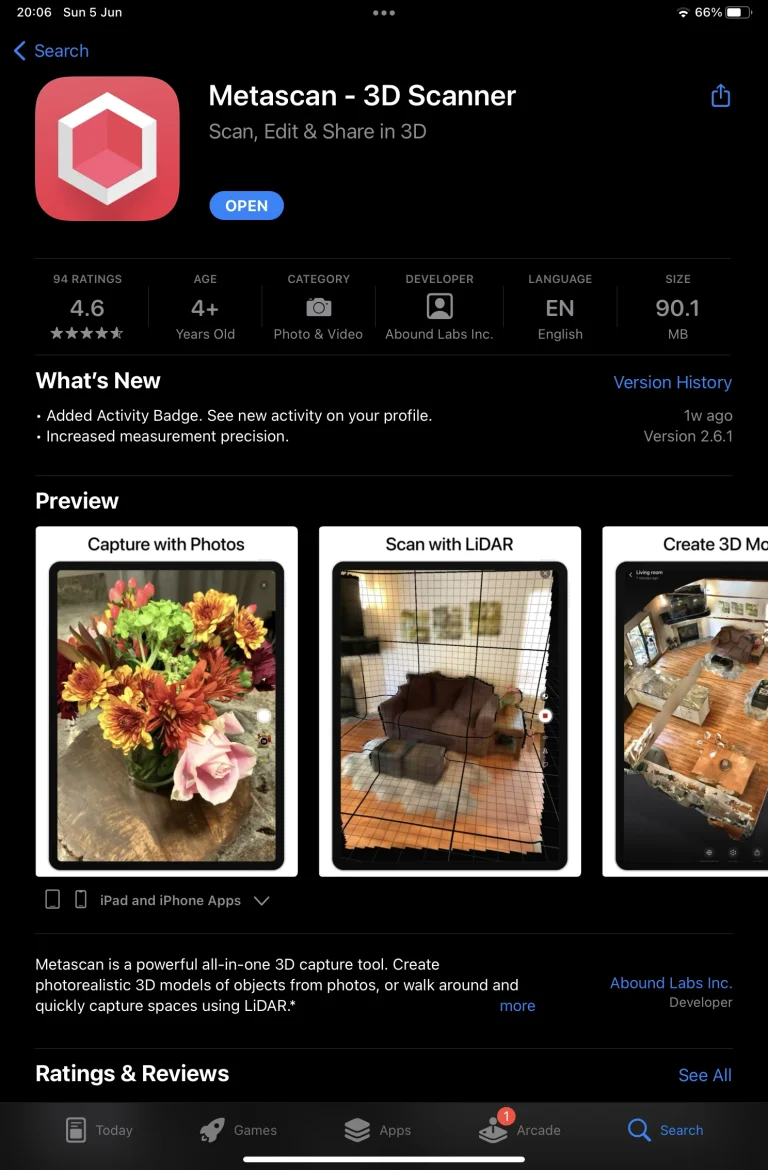
- Metascan – 3D Scanner https://apps.apple.com/us/app/metascan-3d-scanner/id1472387724
Ingredients
- Product
- Product
Instructions
- Set up your product on a plain surface. You can walk around.
- Install and Open Metascan from the Apple App Store
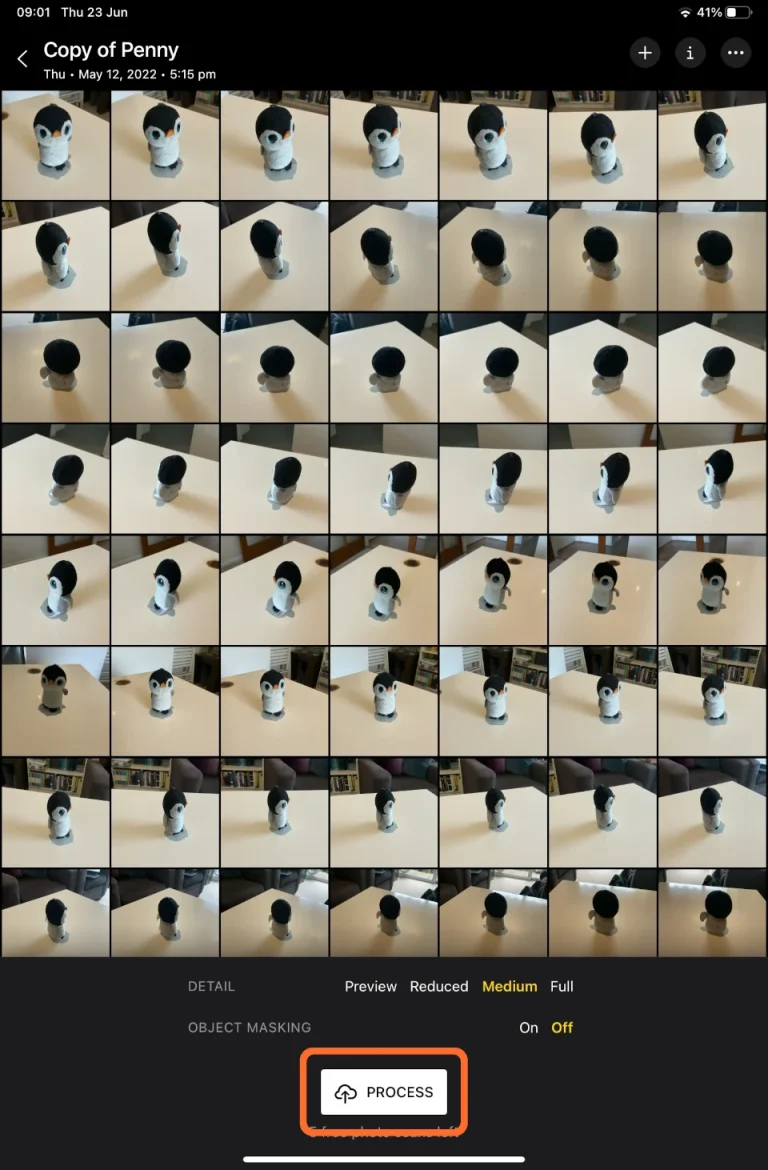
- Press the + button at the bottom of the screenTake plenty of photos of your product from every angle (We took 93 photos of Penny). Start low, work your way round, then raise up and work your way around again. Repeat, repeat, repeat until you have taken photos from every angle (including top down). Press Done.

- Double-check your photos and press PROCESS
- Have a cup of tea, this may take a while uploading. Once the upload has completed, we will need to press Continue and carry on drinking our tea.

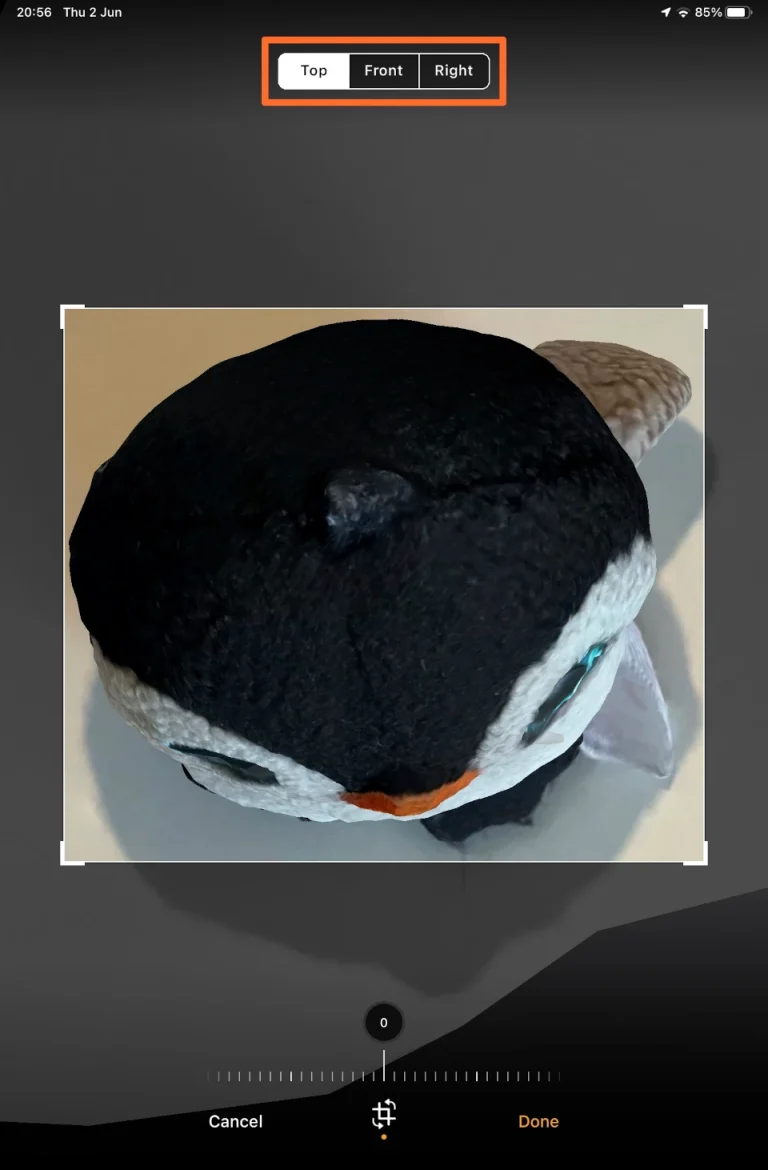
- Your 3D model is now complete and nearly ready to use. All we need to do now is crop any unnecessary background off. Press Edit at the bottom of the screen.Drag the square / rectangle to just outside the edges of your product. Do this for each side using the Top, Right, and Front buttons at the top.
- You can now press Share save our 3D model as a USDZ and upload to Shopify and / or save as an MP4 video.


Struggling with the above recipe? Hire a chef to do it for you